Resto & Custom
Mazda 6 GH / Mazda Atenza
Since i started collecting diecast one of my goals was to own a small scale model of every car i owned, or drove for a significant amount of time. For the second time after the Mazda Protege (had a BMW 46 in between), I have decided to get a Mazda as a daily driver.
It had everything I need from a car: Reliability, lots of room, big trunk with a hatch, plus the elegant looks.
If you miss "power" in my criteria, let me tell you that I am no petrolhead to judge a car only by performance stats.
It's nice to have, but just not as important.
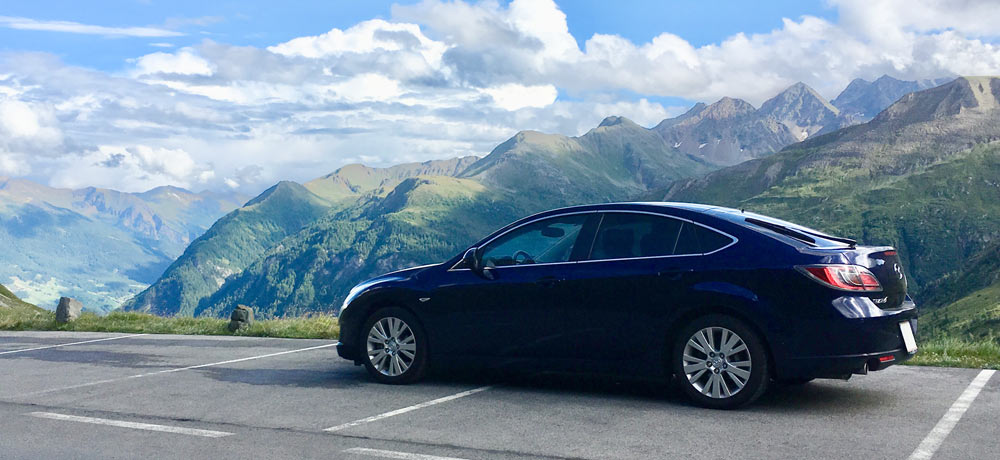
Made from 2008-2011, the Mazda 6 GH pre-facelift version was an attractive car for me since the day it came out.
I test drove it back then, but didn't feel the need to buy a new car by that time.
In 2013 when I was soon to be father and took the chance of getting a Mazda6.
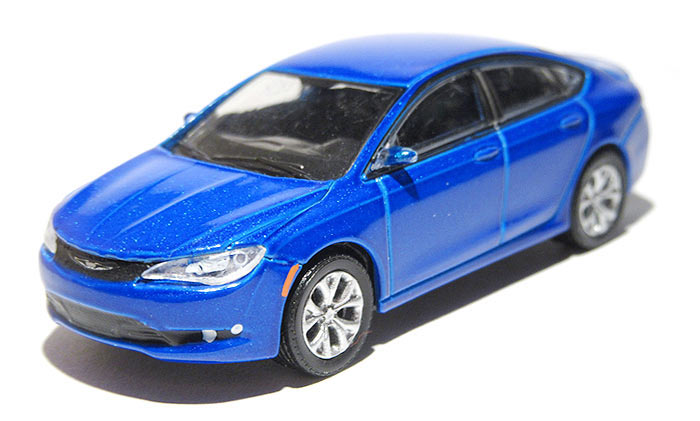
At the same time, I had the idea of making a custom model of it, but soon after that, a baby came and my life changed, taking more time for work and family and less for customizing diecast. Not until the Coronavirus lockdown in spring 2020 would I even think of starting a project like that. To distract myself, I decided to start a project, encouraged and supported by my lovely lady and our daughter. Usually I start with for a donor car, to use as base for the transformation. Building from scratch would have been an option as well, but why make it complicated if already I had a good donor? Greenlight Chrysler 200 was just right, because Mazda6 GH and Chrysler have very similar roofline and shape of side windows. Not 100% match, but good enough for a start.
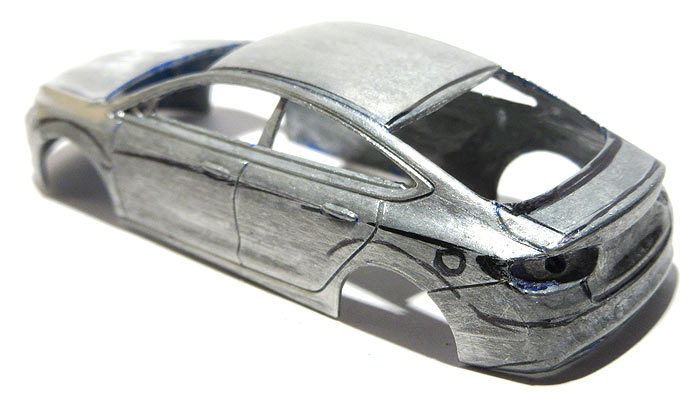
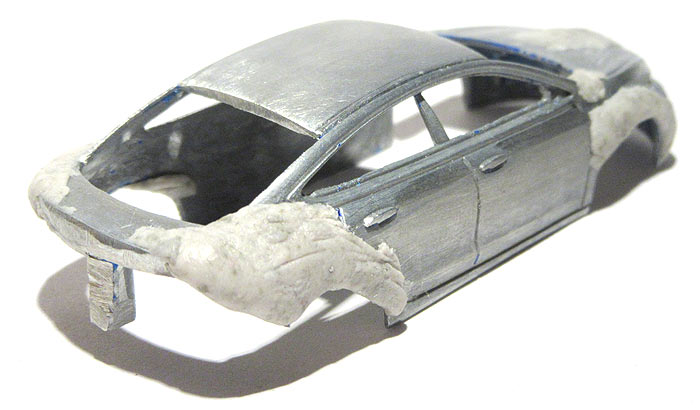
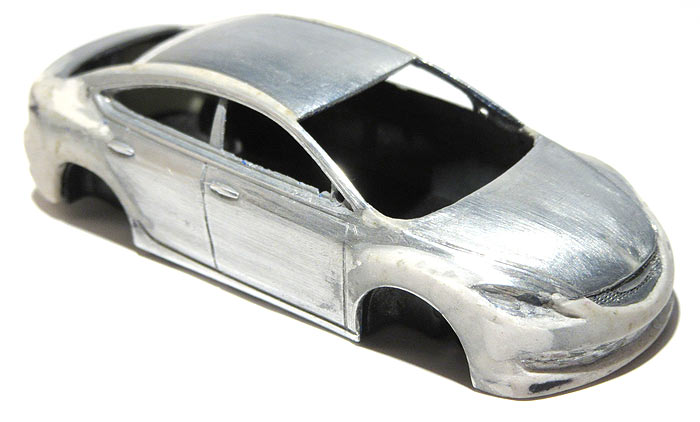
With the original model dismantled and paint removed, I soon started drawing lines of Mazda6 onto the Chrysler body, just to get a feeling for what needed to be done.
Soon all excess diecast parts which would sabotage the modeling process have been removed from the body.
A major part of the rear section had to go, keeping just the screw thread, as the original modelis screwed together (nice!).
I took some putty and formed a base to work on.
The interior needed a transformation too. By that point it was clear that if I wanted a detailed, "collectible" look, it meant working on fine details. So, the dashboard got a complete makeover to replicate the one from 2.Gen Mazda6. I have also changed the look of the center console, adding a gear stick, handbrake and three A/C knobs.
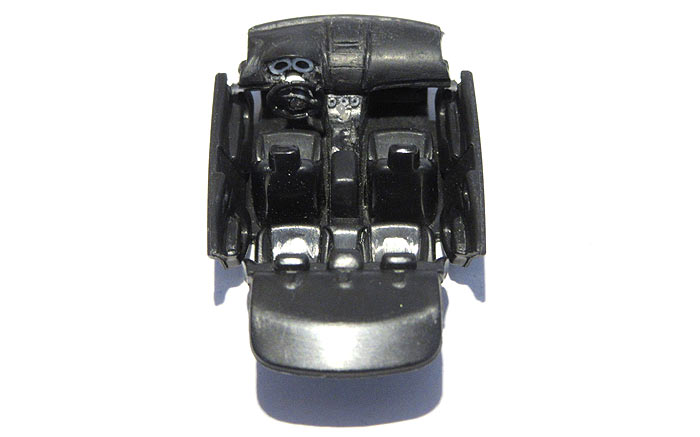
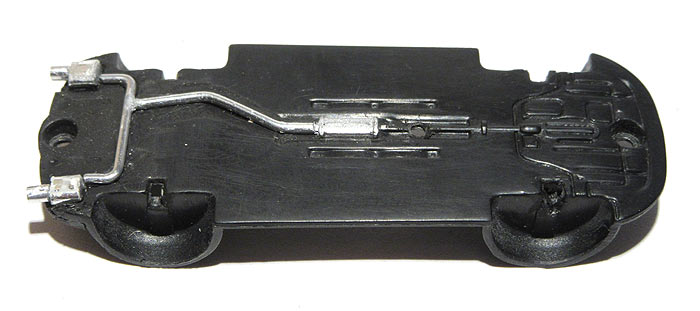
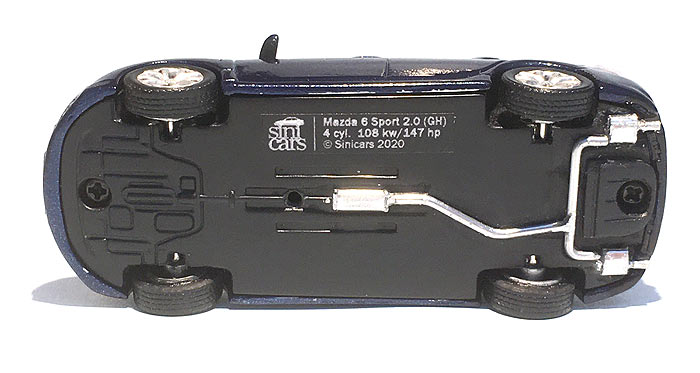
The base got a makeover as well. A scratch built exhaust system was created using a wire, an ear stick for mufflers and some rolled in mustard tube sheet metal for exhaust trim. Later in the process, I would remove the fat "magnaflow"-like exhaust trim and replace it with pieces of axle tubes to be closer to the original. The infamous Greenlight steam roller wheels had to go, but failing to find an appropriate set of tyres for the otherwise nice original GL Chrysler 200 rims that to a huge part match 18" Pre-facelift GH series alloys, I have decided to take the risk and cut narrow the GL steamrollers. The cut off part is on the inside and had to be glued to the tyre, but it worked and I am happy with the result.
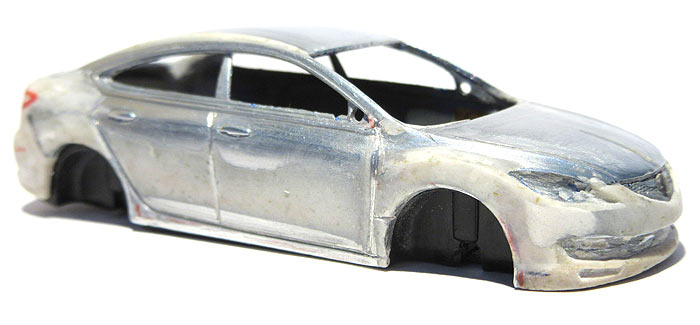
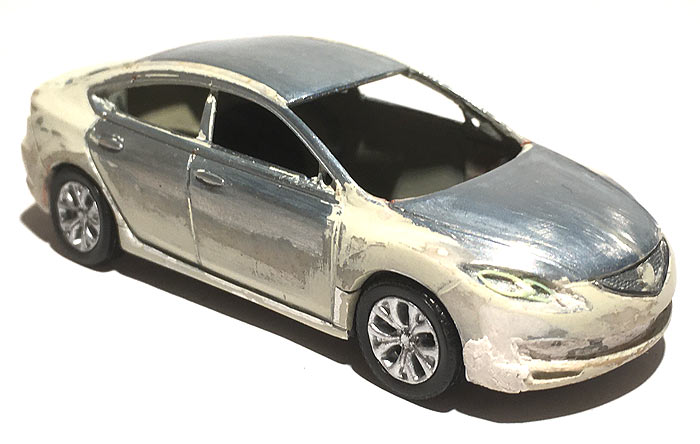
I added some more putty as I went on, to form further key features of the Mazda6 body.
What started bugging me was the fact that Chrysler's front axle seemed to stand too far toward the windshield. This is not the case on Mazda6. Scaled down to 1:64, this defference sure is a minor one, but by moving the wheel arch forward by one millimeter and lenghtening the front doors, turned out to be one of key points of the project, after which I felt I have caught that look of the real car. The procedure is a sensitive one, because it demands cutting a new door line into the body, which can result in a total mess, if it turns out too wide or too thin. Finally, it was a success and I am happy of having made this important step. Ignoring this detail would have turned to a bigger issue later in the process, as the overall impression would be plain wrong.
Left image is before, right is after:
Left image is before, right is after:
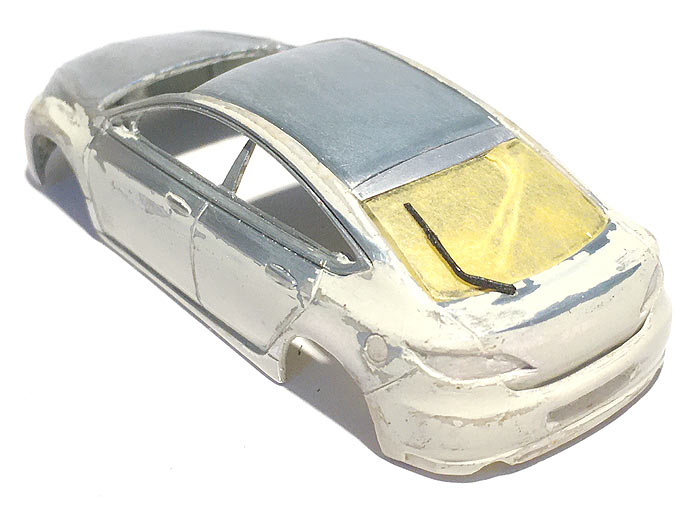
Some extra effort went into creating a 2-piece rear window wiper.
All other details were made to be insterted once the car is painted: Front and rear light inserts, fog lamps, lower front intake.
Mirrors on the side window unit have been added along with an inner rear view mirror.
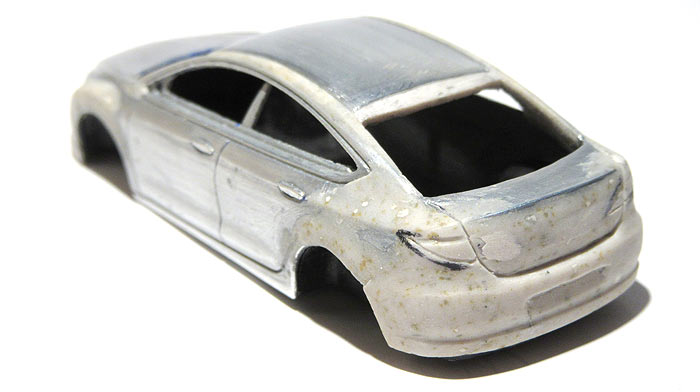
After a few coats of primer and some more sanding, I made a quick test assembly of main parts, hoping for other parts to fit easily during the final assembly. I have installed the typical Mazda6 headlight pattern by using a tiny drinking straw from my daughter. Definitely another household item that will find its purpose in future projects.
Mirrors have been modeled over the originalones from GL Chrysler and sanded to their new shape.
Mirrors have been modeled over the originalones from GL Chrysler and sanded to their new shape.
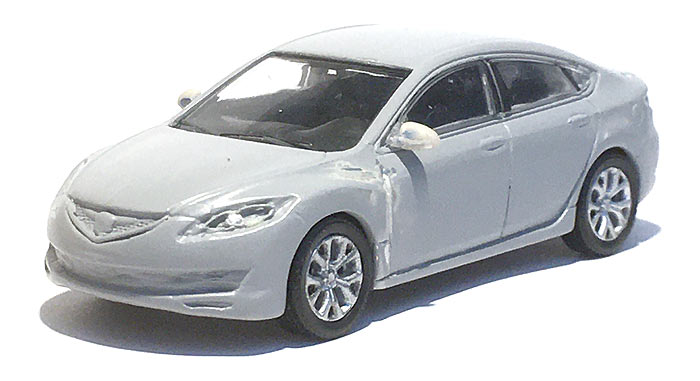
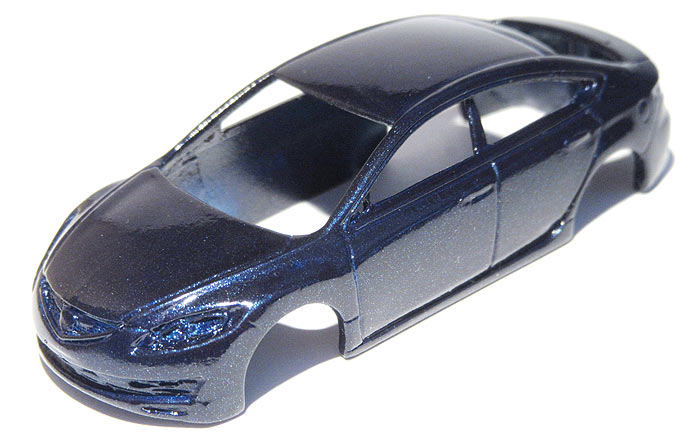
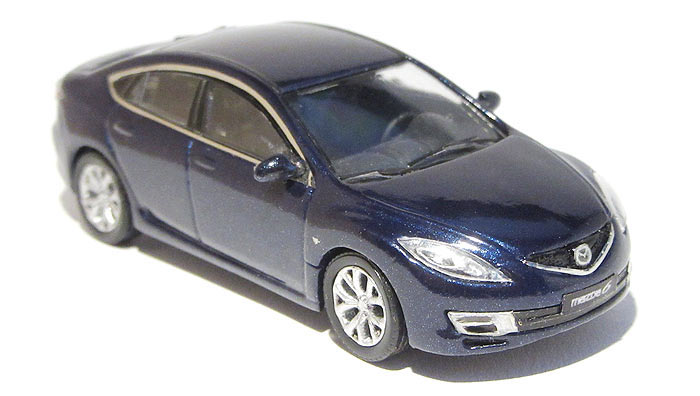
Back from the paint shop (=balcony), I was happy how the color turned out.
Although it is not the original shade of "Stormy Blue", it is still very similar. The model is ready for final steps in the process.
Although it is not the original shade of "Stormy Blue", it is still very similar. The model is ready for final steps in the process.
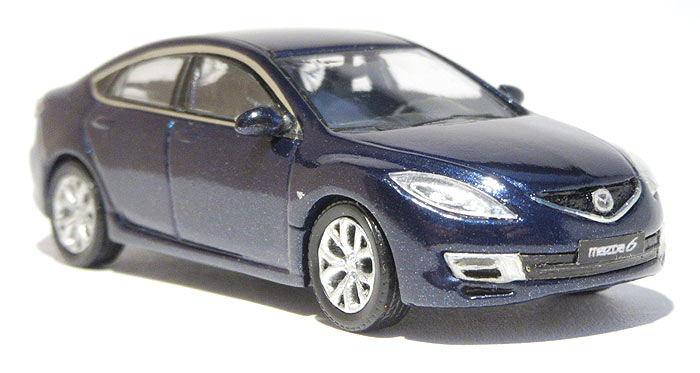
I have drawn Mazda Emblems by hand using the 1 mm "Molotow Liquid Chrome" pen on a sheet of scotch tape. Excess chrome was removed with a scratch pen and covered with another sheet of scotch tape to protect it. Cut them out and put into place.
I used Hasegawa miror finish foil for the grille and chrome frames around windows which worked quite well, but is a delicate piece of work and the material tends to ruin easily. Still I really love to use it, although it can be a difficult material to work with if you have no experience with it.
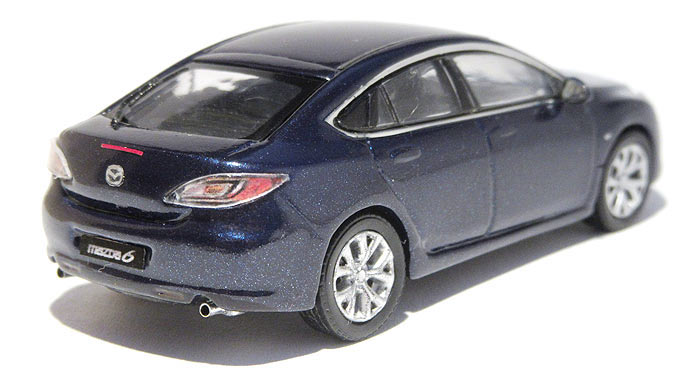
It was a lesser task to create rear light inserts, which were made in Photoshop to resemble the original rear lights and covered by clear blisterpack plastic.
Once all details were painted and inserted, I conclude this could have been my most challenging project to date and I sometimes felt the lack of customizing routine caused by the 7 year break. Luckily, during the custom-break period, I still repaired damaged vintage toy cars every now and then, so I kept the practice to a certain grade.
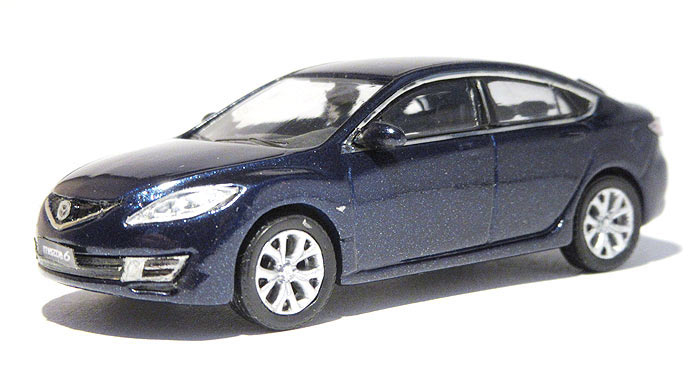
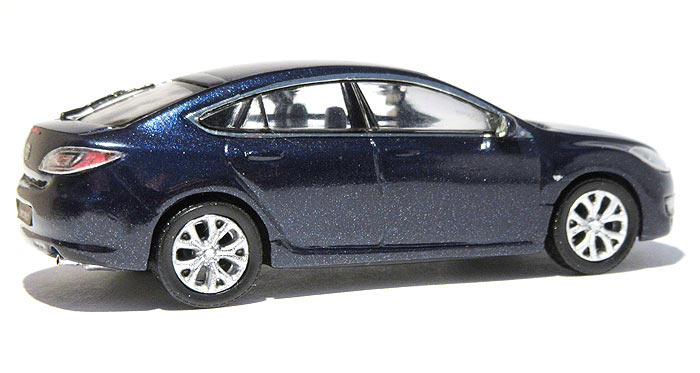
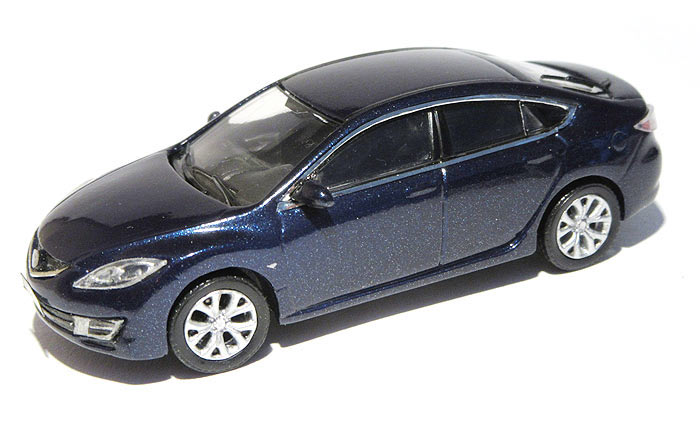
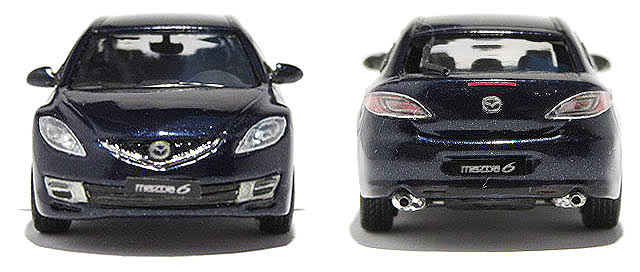
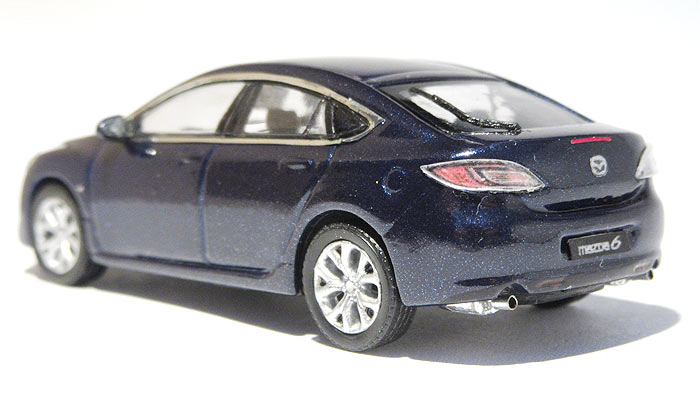
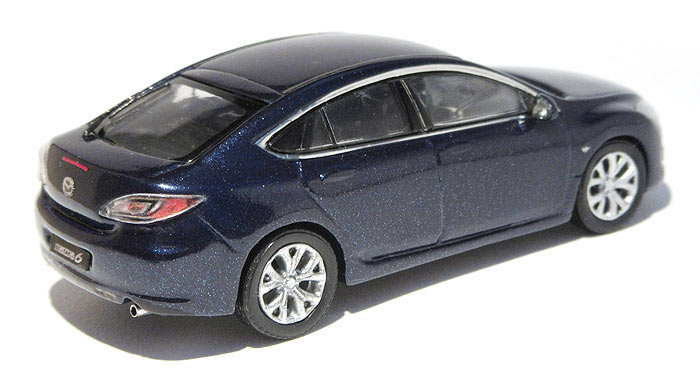
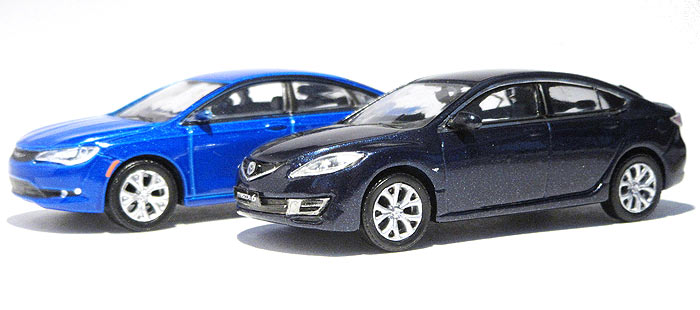
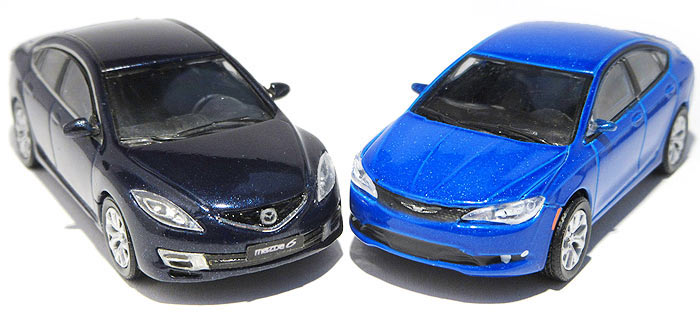
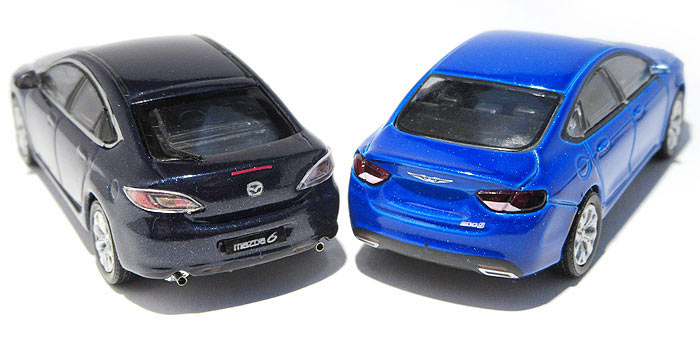
Here are some impressions of the finished model:
It was a lesser task to create rear light inserts, which were made in Photoshop to resemble the original rear lights and covered by clear blisterpack plastic.
Once all details were painted and inserted, I conclude this could have been my most challenging project to date and I sometimes felt the lack of customizing routine caused by the 7 year break. Luckily, during the custom-break period, I still repaired damaged vintage toy cars every now and then, so I kept the practice to a certain grade.
Here are some impressions of the finished model:
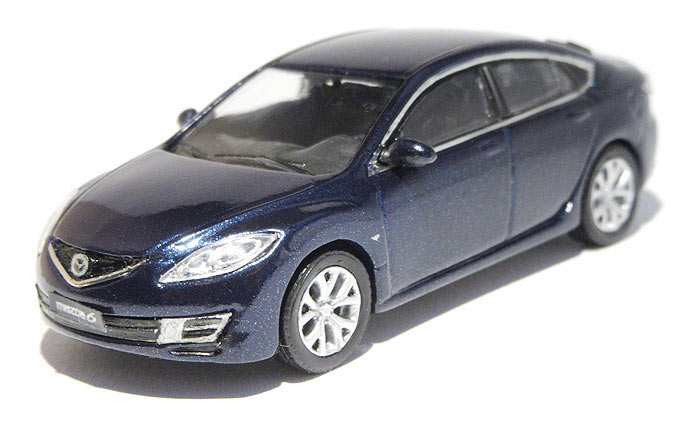
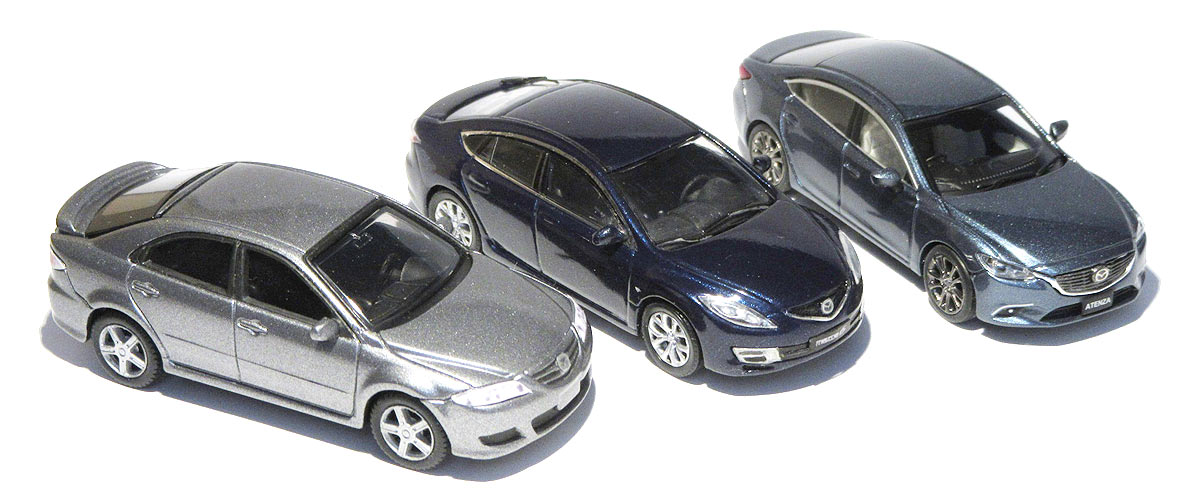
Here are some comparison pics with the model i started with:
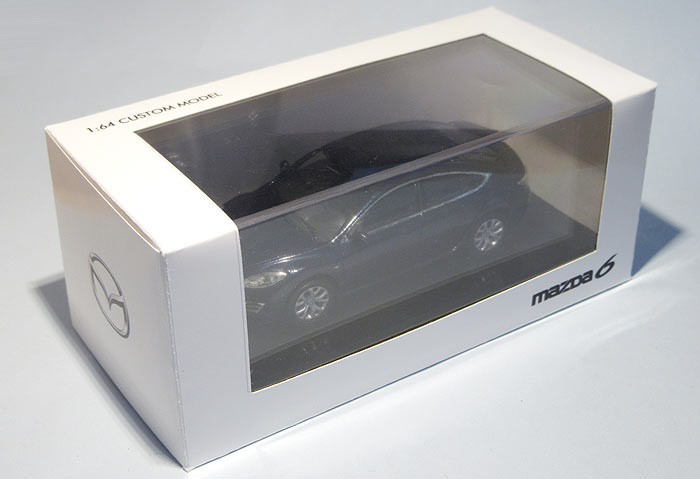
I decided to create a display box for it - using Kyosho-style boxes I ordered from China some years ago.
Then I created a cardboard cover for it in Photoshop (as simple as it could be, to save on printer cartridge).
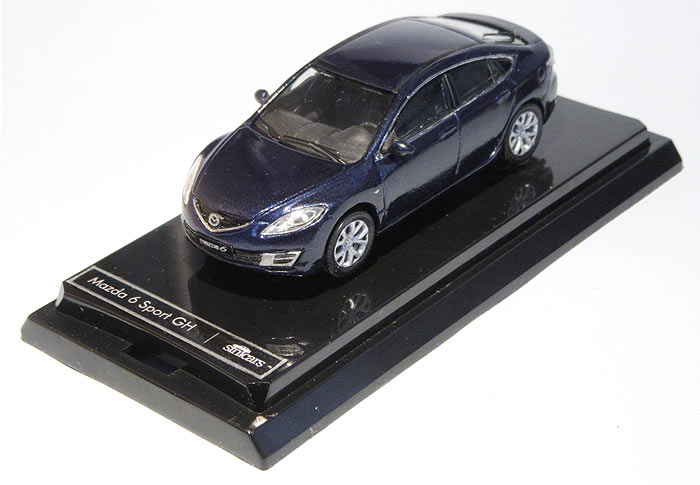
Left to right: Tomica GG/GY (customized too), Sinicars GH, Oversteer GJ/GL.

I hope you enjoyed this story just as much as I enjoyed making the model and writing about it. It really made me forget the lockdown and the daily dose of media coverage, for at least a little while.
Pictures © by Sinicars
Custom projects